Size charts What is the height of the pattern Payment methods Ask a question Reviews
PDF pattern for printing on a printer or plotter in full size for dress sizes from 42 to 52 (all sizes in one file).
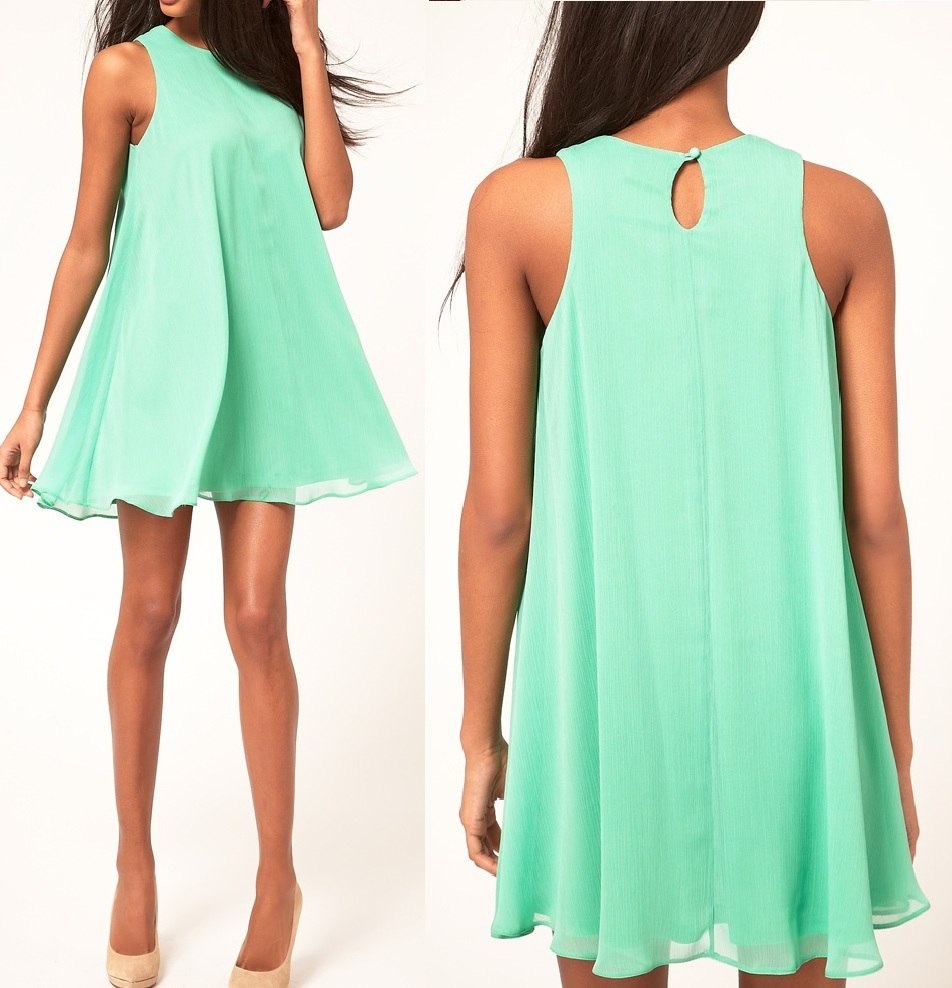
How to sew a simple sleeveless summer dress according to a finished pattern with your own hands
Read this guide:
- The silhouette of the dress, the fabric for it and the description of the set of patterns.
- How to download and print a dress pattern.
- How to cut with your own hands according to the finished dress pattern.
- How to sew a dress for beginners step by step.
Download a sleeveless summer dress pattern
Pattern description, silhouette and fabric
 Electronic pattern for beginners dresses (tunics) "bell"
Dimensions: 42-52
File format for download in order:
PDF in full size and without seam allowances.
After paying for the order, you will receive links to download two files dress patterns gradation sizes from 42 to 52:
- PDF file A4, adapted for printing patterns on sheets of A4 paper in any program on any device, including mobile phones.
- Multi-format PDF file for printing on sheets of any size from A0 to A4 on a printer or plotter using Adobe Reader.
Sewing difficulty level: simple, accessible for beginners.
Despite the free silhouette, the model of such a dress is suitable only for thin girls and this is due to the outlines of the armhole, and not to the silhouette forms.
The set of patterns includes a shelf and a back (picture 1).
Pattern sketch for these parts see picture.
For tailoring, only thin fabrics of a silk assortment are suitable. For the “top”, chiffon will be the most suitable, for the “cover” (lining) the same chiffon, crepe chiffon, satin or other thin silk
Consumption depends on the size of the product and will be 135 - 155 cm.
How to download, print and assemble a sleeveless summer dress pattern
How to download an electronic pattern.
Electronic patterns free download.
Download this sleeveless summer dress pattern
How to cut your own sleeveless dress according to the finished pattern
 For cutting, the fabric is folded in half, and the edges are aligned and parallel to the edge of the cutting table (picture 2).
Patterns for the front and back are located on the fabric with middle seams to the fold and edges. At the same time, the allowances for the middle, side and shoulder seams will be 1 cm. The armholes, sprout and neck are cut out beyond the pattern line. And the bottom allowance should be added, based on the method of processing you have chosen, plus 1 - 2 cm for leveling the length.
By the way, length alignment is a necessary operation when sewing flared dresses and sun skirts.
And this need arises due to the different direction of the threads along the seams of the product. In this dress, the middle seams are located along the lobar thread, and the side seams along the oblique and, therefore, will stretch under their own weight.
You've probably seen the pattern often in similar dresses and flared skirts or even factory-made coats - the side seams in these products sag, and the back and front look short.
In order to “balance” the product at least to some extent, I performed deflections along the middle seams of the back and shelves.
Returning to cutting, I will add that the “top” and “cover” (lining) of the dress are cut out in the same way. In this case, the "cover" can be shorter or longer than the "top". The same length is also possible.
How to sew a sleeveless summer dress for beginners step by step
Sewing a bell dress is not difficult. And here are three options for tailoring:
- The first - without a "cover" and with the processing of armholes and necks with facings (watch video master class и read an article on this topic).
- The second - with a "cover" and with a edging of the neck with an oblique inlay (watch the video tutorial if you use ready-made bias binding and binding or read the article on how to make bias binding at home and trim the neckline and armholes without using tools).
- The third - with a "cover" and in this case the "cover" acts as a facing for the neck and armholes.
 If everything is clear with the first method (process the shoulder, side seams, turn the neck and armhole, bottom - and you're done), then the second method of sewing a “bell” dress can cause little difficulties for beginners.
Therefore, a small lesson for beginners on how to sew this dress will not hurt:
- So, in order to avoid them, you should stitch, overcast and iron the shoulder and front middle sections of the “top” and “cover” of the product.
- Then, put the "top" on the "cover", as it should be in the finished dress and sweep them along the neck and armholes.
- It is necessary to sweep with large oblique stitches (up to 5 cm), stepping back a couple of centimeters from the cuts. Of course, all seams and sections of the "top" and "cover" should be combined.
- After basting, sew the same armholes and neckline with a machine stitch, stepping back from the cuts 0,5 cm. After making sure that the “top” and “cover” are combined securely and without distortions, trim the seam to 0,3 cm (from the line to the cut).
- After edging the neck and armholes in the way you have chosen, sweep the raw sections, “beat off” the bottom according to your figure and process it with a seam with a rudder (it is also a rolled seam - as translated from English - rolled - twisted, folded).
- Watch the video tutorial on sewing a beach overall, which shows the setting of the overlock for a seam with a rudder can be on this link.
- And the sewing of the dress should be completed by processing the remaining seams - side and middle on the back. They will also have to be swept with oblique stitches, overcast together the corresponding seams of the “top” and “cover”, stitch them and iron them. It is advisable to fix the ends of the seams on a typewriter or manually.
The third way (shown in photo of a tailored dress) is somewhat unusual, but quite simple. In this processing option, the “case” plays the role of a facing and the sequence is important:
- We start with the middle seams of the shelf and back - we grind, overcast, iron. Then, having folded the “cover” and “top” face to face, we turn the neck in the same way as you would turn it with a turn (watch the video tutorial on processing the neckline).
- Then we grind the armhole, for example, the right one. After it - I'll pass the left. If this seems difficult, then the turning seams can be done in half.
- After turning the armholes, the side seams of the “top” and “cover” are processed as one seam.
- At the end - the bottom with a rolled seam.
As you can see, everything is simple. And you don't have to be a tailor to sew a dress.
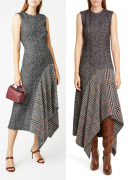
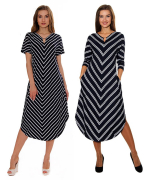
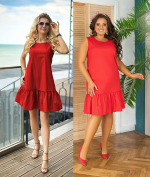
Patterns of other simple models of trapeze dresses, see the link below:
Download this pattern pdf:
Pattern for beginners of a simple summer bell sleeveless dress
$1.50 (60 hryvnia)
Bank cards of the Russian Federation are not accepted for payment!
Size charts What is the height of the pattern Payment methods Ask a question Reviews
Vera Olkhovskaya in social networks:

More patterns of models of a similar style or cut


See similar clothing patterns and how to sew on them


-
Any pattern for free for a review of a previously made order
More...
Lifetime promotion for buyers of patterns!

Leave a review about my store of patterns for an order that you made before, and you will receive any paid pattern of your choice Free!
Catalog:
New patterns on the site


Most readable articles
- How to print patterns in full size on sheets of any format? Category: F.A.Q.
- Pattern of a dress for a babydoll girl Category: Dress patterns for free
- How to take measurements for sewing Category: Sewing: general questions
- How to sew a skirt without darts and without a pattern: "Tatyanka" Category: How to sew...?
- How to learn to sew from scratch at home for free? Category: F.A.Q.
- Skirt with a belt - how to sew a belt to a skirt and processing the belt when sewing a skirt for beginners Category: Waist section processing with and without belt
- How to choose a pattern size? Do Olkhovskaya patterns require a fit? Category: F.A.Q.
- Do-it-yourself parsley, Cossack and Gnome according to free patterns by Vera Olkhovskaya Category: How to sew a New Year's costume and costumes for the holidays with your own hands
New lessons and reviews
-
I sewed a boho trapeze dress size 42 according to your pattern
Category: Patterns - photos and reviews from users

-
I made two dresses with this pattern.
Category: Patterns - photos and reviews from users

-
Thanks for the fast order processing.
Category: Patterns - photos and reviews from users

-
When sewing, I slightly deepened the front neck
Category: Patterns - photos and reviews from users
