Sewing lessons from Vera Olkhovskaya
Today, sewing clothes without embroidery has become quite rare.
On almost every sewn item, we see at least a small machine embroidery.
The emblem of the manufacturer, an ornament or an element of an intricate style, but machine embroidery penetrates all sewing enterprises.
Even patterns for hand embroidery are just "sketches" of embroidery designs designed for machine embroidery.
I continue a series of video tutorials on machine embroidery for beginners.
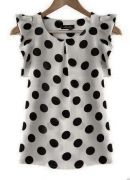
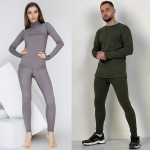
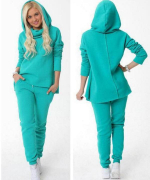
Dress patterns for video lesson
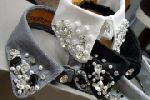
In this master class you will see the whole process of embroidering lace cuffs and a collar for dress designed by me.
|
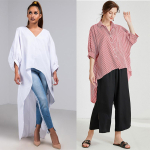
Pattern of a detachable dress with two skirts
|
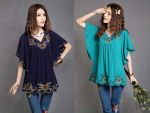
Japanese New Look Dress Pattern
|


Find out which threads, needles and which interlining should be used for lace embroidery.
 And let those who embroider with their hands envy, justifying their ignorance of the possibilities of machine embroidery with cultural traditions, because embroidering on a typewriter is very simple and fast.
You just need to hoop the water-soluble interlining into the hoop, select the appropriate pattern from the available ones and ... press the button.
For embroidery, I bought a ready-made design for a lace collar and cuffs, embroidery threads - top and bottom, and a thin water-soluble interlining.
I will need more than a kilometer of thread, since I will have to embroider about 270 thousand stitches!
 One more thing, I embroider a little, but I have already accumulated enough scraps of water-soluble interlining.
I want to use the leftovers, so I cut off a piece of interlining that fits the size of the hoop and take three strips from the leftovers.
They will still dissolve in the wash.
I hoop the water-soluble interlining into the hoop corresponding to the size of the design and proceed directly to the embroidery.
 By pressing the “sewing” button, I shift the pattern as much as possible to the right in order to be able to place the second half of the collar next to it without re-hooping the interlining.
To embroider the second half of the collar, I use the mirror button.
And then I embroider the cuffs.
When the embroidery is ready, I cut off the excess water-soluble interlining and wash the collar and cuffs.
 First in warm water to dissolve the interlining, then rinse and wash in shampoo for delicate fabrics.
Finally, I rinse again.
I wring out the water, wrapping the embroidery in a towel, without making much effort.
I dry it flat and iron it.
I also want to say a few words about the shrinkage of the lace.
 The programmed collar length, which is displayed when looking at the design on the computer, is 238 mm.
When I measured the collar on non-woven fabric after embroidery, its length was only 230 mm, and after washing and drying it was only 207 mm.
The lace turned out to be quite stiff and does not need starching.
And if you have not yet bought an embroidery machine, but you sew clothes with your own hands for yourself and your family, do not despair. You can use ready-made lace and embroidery fragments that are sold in fabric stores.
Patterns of collars and sleeves - sets


|
||||||||||||